Industries
Hemp
Nutrient Delivery System
Water Treatment
Products
logo.png

Setting up a Dosatron chlorinator is a simple task that can be done quite easily. By following these steps, you can effectively install your chlorinator and make sure it works correctly.

  1. Choosing Where to Install Your Dosatron Chlorinator
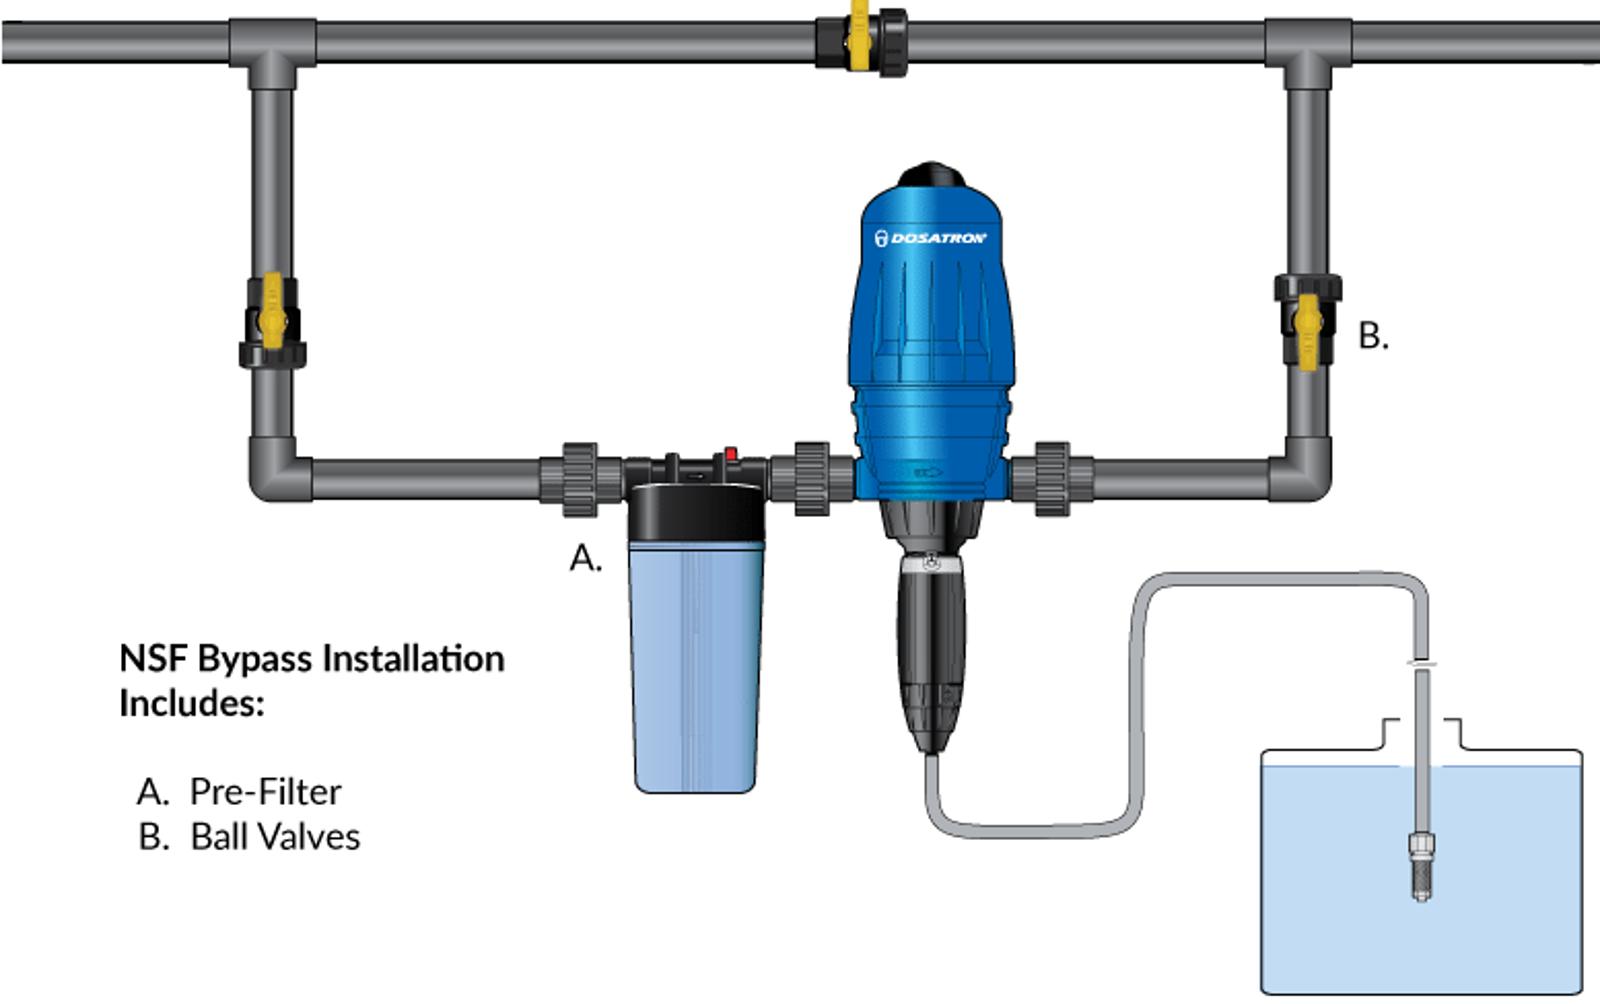
    Pick a suitable location close to your water source, making it easy to reach for future adjustments and maintenance. Keep in mind the rules about preventing water from flowing back and protecting the water source. Also, make sure the water flows in the direction shown by the arrows on the unit.
  2. What You Need Before Installing Your Dosatron Chlorinator

    Before starting installation, make sure the water system is clean and free from debris that could block the chlorinator or reduce water flow. This is helpful to inspect the pipes and fittings ahead of time.

    Make sure you have enough space to mount the chlorinator in a location that you can reach easily during future service or adjustments. Always check local plumbing rules to confirm you are installing the equipment safely and correctly. Planning ahead helps the installation go faster and prevents mistakes that could affect chlorine delivery.

  3. Gathering Dosatron Tools and Components
    Before you start the installation, ensure you have all the necessary tools and components, including the Dosatron chlorinator unit, suction hose, injection check valve, mounting bracket, strainer, and any needed adapters. Remember to turn off the main water supply to the area where you'll be working.
  4. Installing a Dosatron Chlorine Injection Pump
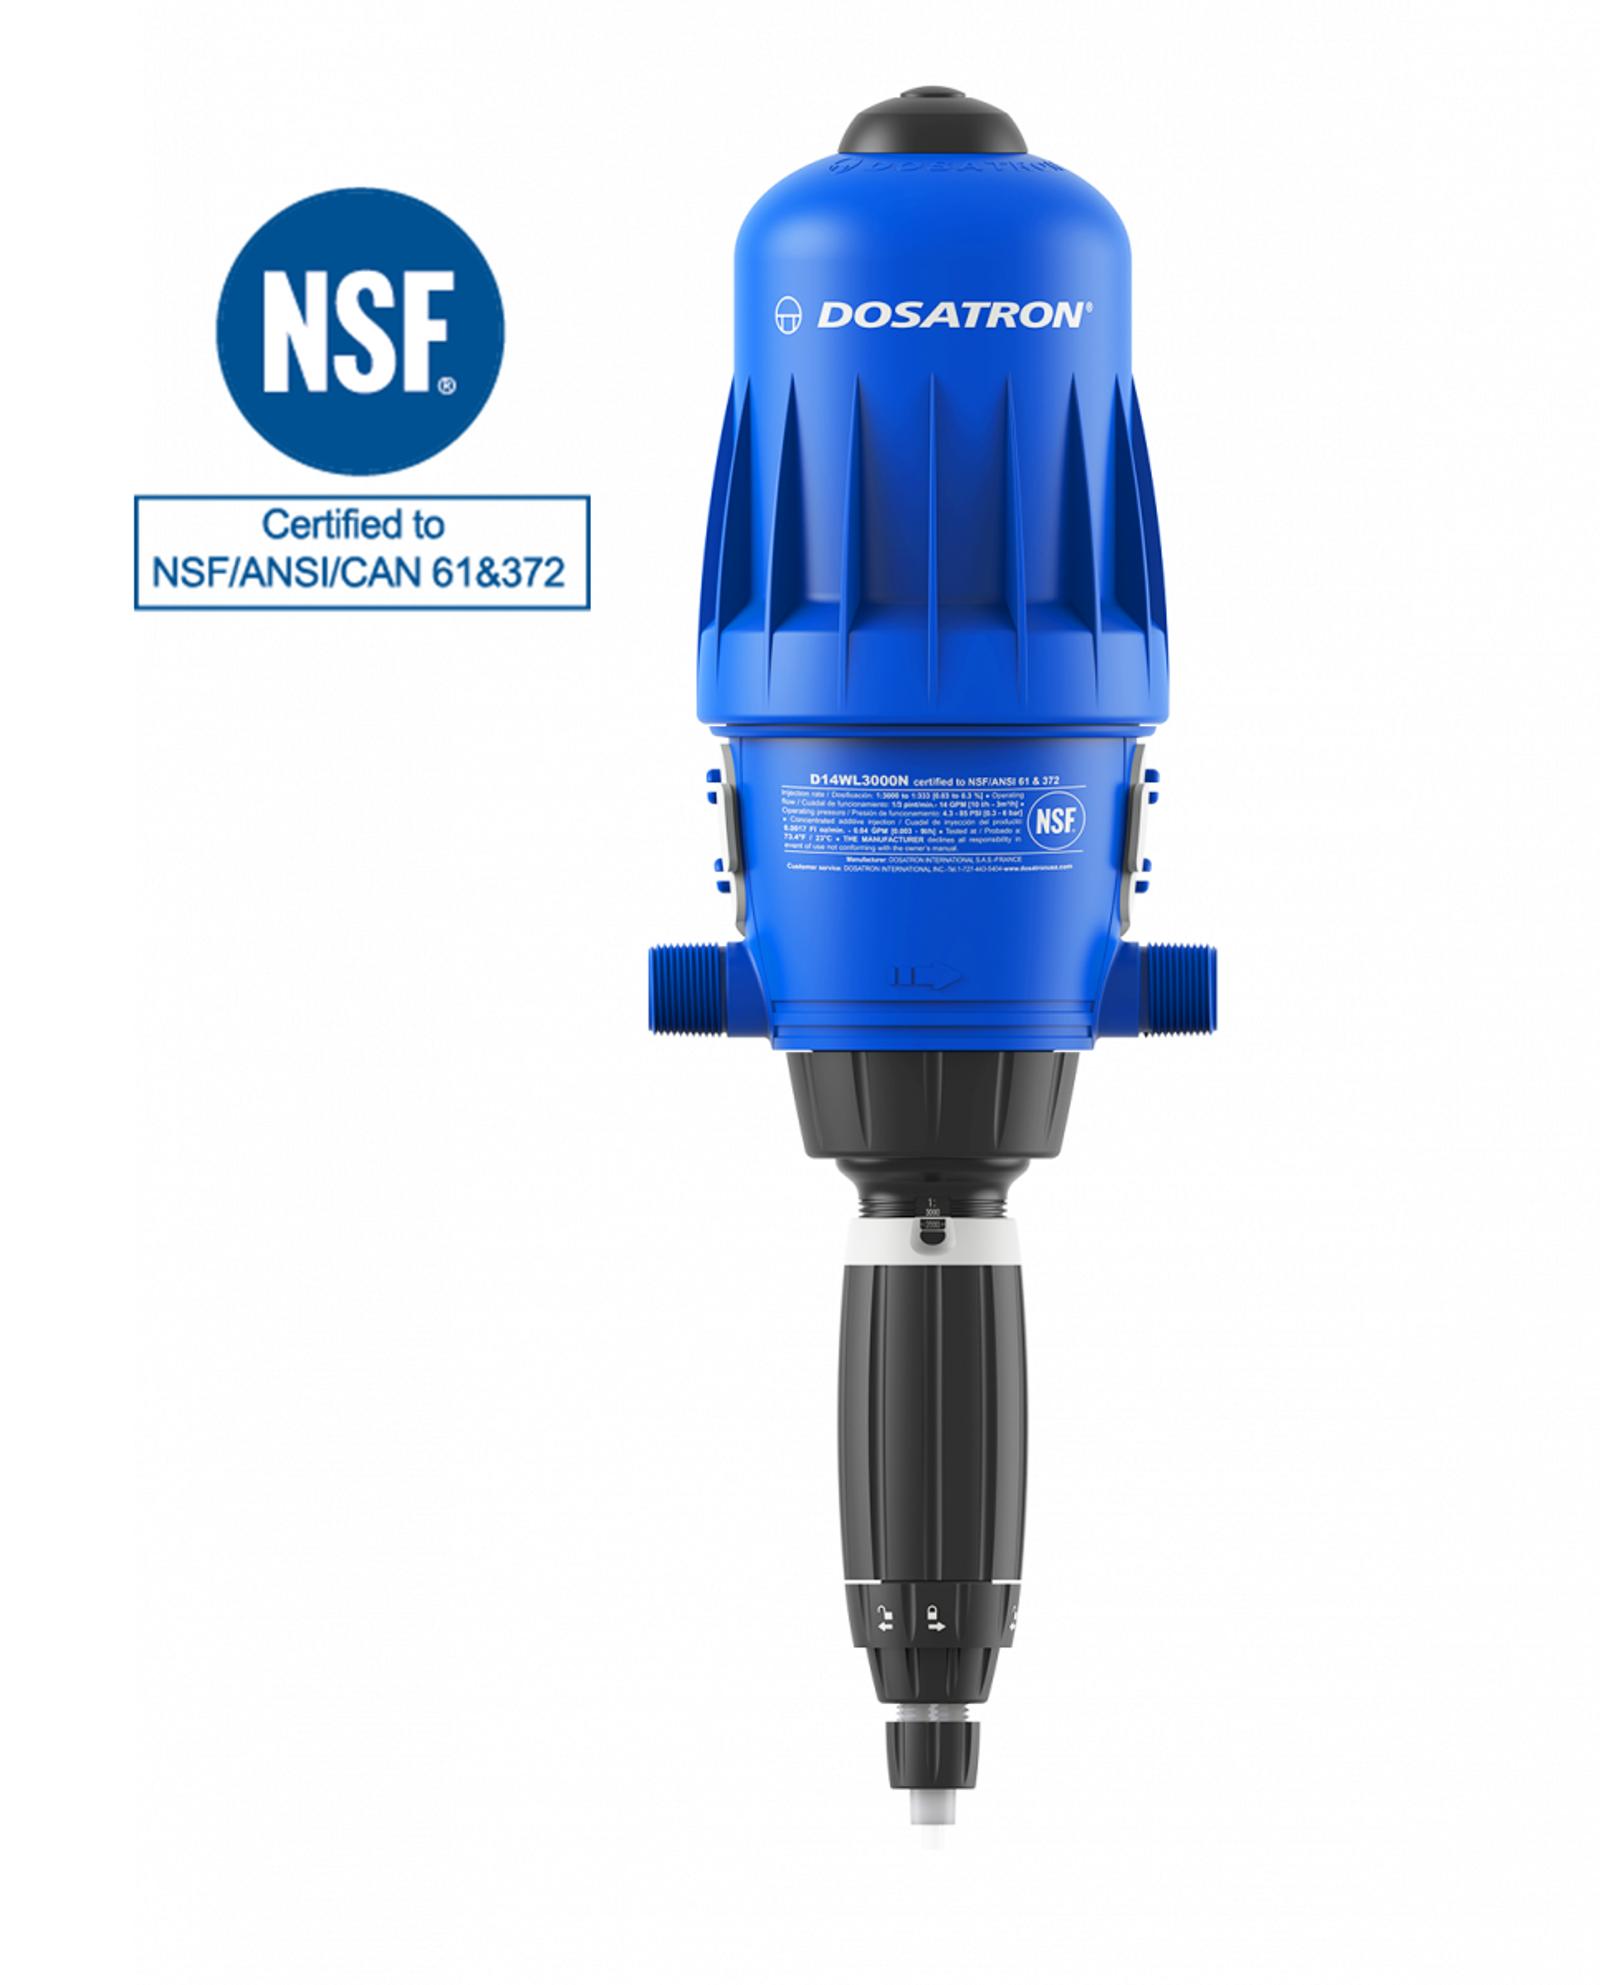
    Take a moment to understand the different parts of the Dosatron chlorinator by referring to the manual you have been provided.
Install a Dosatron Chlorine Injection Pump

Why Proper Chlorinator Installation Matters

Installing a chlorinator the right way is important for safe and clean water. When your system is set up correctly, the chlorine mixes evenly into the water and helps remove harmful germs. This gives you better protection for drinking water, irrigation, and other water needs.

A correct installation also reduces leaks, clogging, and downtime. It helps your Dosatron chlorinator run longer with fewer repairs. You save money on chemicals because the dosing stays accurate every time water flows through the system.

If a chlorinator is installed the wrong way, the water may not get enough chlorine, or it could get too much. This can damage pipes, harm crops or equipment, and make water unsafe for use. Following the proper steps helps you avoid these risks.

To proceed with the installation, follow these steps:

  • Prepare the Water Supply Line
    Turn off the main water supply to the area where you will be working.
    Cut the water supply line at the chosen installation point. This is where the Dosatron unit will be inserted.
  • Connect the Dosatron Chlorinator
    Connect the suction hose to the unit, this hose will draw the chemical solution.
    Attach the injection check valve to prevent water from flowing back into the chemical container.
  • Insert the Dosatron Unit
    Next, locate the water supply line and cut it at the chosen installation point. Insert the Dosatron unit into the line and secure it using the recommended fittings and adapters.
    Finally, tighten all the connections using a wrench or pliers, ensuring everything is tight and leak-free.
  • Setting the Dosage Ratio
    Once the Dosatron chlorinator is installed and there are no leaks, it's time to set the dosage ratio. Follow the guidelines in the Dosatron manual to set the correct dosage ratio.The Dosatron operates based on water pressure, and the dosage will be proportional to the water volume entering the unit. Ensure you are using the correct percentage of concentrate as recommended by the manufacturer.

Tips for Placing the Chemical Container

The chemical container plays an important role in chlorination because the Dosatron pulls the chlorine directly from it. Place the container close to the unit so the suction hose stays short and secure.

Keep the container away from heat, direct sunlight, or areas where it could be knocked over. Make sure the label on the container is readable and includes safety information. Storing chemicals correctly helps prevent spills, keeps the process safe, and protects operators from harmful exposure.

How to Test Your Chlorinator After Installation

Once installation is complete, always test the system before regular use. This helps confirm that the unit is working correctly and delivering the right amount of chlorine.

Here’s a simple way to test:

  1. Run water through the system for a few minutes.

  2. Check the chemical suction hose to ensure chlorine is moving through it.

  3. Use a test strip or chlorine meter to measure chlorine levels at the outlet.

  4. Adjust the dosage if the reading is too high or too low.

Also look for leaks, loose fittings, air bubbles, or unusual sounds. Fix anything you notice right away. Testing gives you confidence that your water is clean and the equipment is protected.

Using your Dosatron Chlorinator for the First Time

When starting the Dosatron for the first time, follow these steps for proper setup and operation.

  1. Begin by partially opening the water inlet valve.
    Press and hold the bleed button on the top of the Dosatron until a steady flow of water appears, indicating that air has been removed.
  2. Release the button, then slowly open the water inlet valve – the Dosatron is self-priming.
    Operate it until your intended product is visible in the doser body through the plastic tube.The Dosatron's distinctive "click-clack" noise indicates successful operation. Remember that the priming time depends on factors like flow-rate and tube length.
  3. Set the injection rate to maximum temporarily for efficient priming.
    The Dosatron is designed for fluids up to 104°F (40°C) and operates at pressures up to 85 PSI (6 bars). Protect against frost and excessive pressure risks, and size the installation to prevent water hammer

Basic Troubleshooting Tips for Dosatron Chlorinators

If your chlorinator does not seem to be working properly after installation, you can try a few quick troubleshooting steps. 

First, check that the suction hose is placed securely in the chemical solution and that all valves are fully open. If you hear a weak or uneven clicking sound, your water pressure may be too low. In that case, check your water supply to make sure the chlorinator is getting the flow it needs. 

If you see higher chlorine levels than expected, adjust the dosage setting to a lower amount. If the unit does not seem to prime correctly, release air by pressing the bleed button until water runs smoothly. 

Most common issues are easy to solve with a quick inspection. If problems continue, you can refer to the Dosatron manual or reach out to a Dosatron support expert for help.

Routine Care After Installation

Once your chlorinator is installed and running, taking good care of it will help it work properly for a long time. Check the suction hose and fittings regularly to make sure they are tight and free from wear. Flush the system if you ever switch to a new chemical product. 

Review the dosage setting often to confirm it still matches your water needs. For the best performance, follow a maintenance schedule that includes cleaning the strainer and inspecting internal parts. Simple care keeps the Dosatron system efficient and dependable every day.

Common Mistakes to Avoid During Installation

Avoiding common installation mistakes will help your chlorinator work correctly from the start. One mistake is installing the unit in a location that is hard to reach. This can make future maintenance more difficult and lead to skipped inspections that affect dosing accuracy. Another common issue is leaving air trapped inside the system, which can stop chemicals from moving through the suction hose. 

Not tightening fittings enough can cause leaks, while overtightening can damage parts. This is also important to make sure the injection check valve is facing the correct direction to prevent backflow. Taking your time and double-checking your work can help you avoid these problems and ensure smooth operation from day one.

When to Call a Dosatron Expert for Support

Sometimes, you may need extra help during installation or operation. If the system continues to show low dosing results, frequent air bubbles, or pressure problems even after troubleshooting, it may be time to contact a Dosatron expert. Support specialists can help identify the cause, recommend replacement parts, and guide you through proper setup.

Reaching out for help early can prevent bigger issues and protect your water system. Dosatron offers manuals, videos, and technical support to make sure every installation runs the way it should. You are never alone when installing or using your Dosatron chlorinator.

Safety Measures and Additional Information

The instructional manual is a valuable resource providing essential precautions and insights for a successful Dosatron water treatment installation.

  • Safety first
    During installation, operation, and maintenance of the Dosatron, safety should be the top priority. Utilize appropriate tools, wear protective clothing, and use eye protection. Exercise caution when handling hazardous substances.

  • Flow and Pressure Considerations
    Adjustments should be made when there is no pressure in the Dosatron to maintain optimal functioning.

  • Annual Replacement of Injection Seals
    To uphold precise dosing, injection seals should be replaced annually. This responsibility falls on the owner/operator to guarantee accurate and effective performance.

  • Choosing the Right Installation Location
    Select an easily accessible location for the Dosatron and concentrate container that does not pose pollution risks. Properly label water lines with appropriate warnings to ensure safety and compliance.

It's important to include these insights in your installation and maintenance routine. This will help you use your Dosatron chlorinator safely and efficiently. To care for and use your Dosatron, follow these steps. Understand how Dosatron's technology works. Also, take precautions from the manual. This will help you create a complete approach.

Dosatron Chlorinators

Dosatron chlorinators are available in different sizes to match a wide range of water systems.

D14WL Low Flow Chlorinator

The  D14WL low-flow chlorinator is designed for applications with lower water usage, supporting flow rates from 0.05 to 14 gallons per minute. It runs entirely on water pressure and is NSF/ANSI/CAN 61 and 372 certified for use in potable water. This model is a reliable fit for small businesses, residential treatment setups, laboratories, and other compact systems where space and efficiency matter.


D40WL High Flow Chlorine Injection System


For operations that manage higher flow rates, the  D40WL high-flow chlorinator provides the same accurate, proportional dosing but handles up to 40 gallons per minute. This makes it well-suited for commercial facilities, industrial processes, food and beverage production, and multi-line water treatment. Because both models automatically adjust dosing based on water flow, they maintain consistent chlorine levels even when demand changes.